Wednesday, August 15, 2012

organizing earrings


I am slowly but surely unpacking.  After 6 moves in 4 years...I have a lot of...stuff.  That includes a lot of jewelry despite wearing the same 3 sets of earrings all the time.  One way to fix this problem would be to display them.  It would allow me to see what I actually own and hopefully mix up what I wear.  I stole this idea from Genevieve who made herself a similar earring organizer a few years back.  Christine told me to blog about things people could actually use or want to read about. So without further ado, here's how to make a simple earring display holder.

I started with a set of stackable cooling racks.  I found them on sale at Ross. I've never splurged to by cooling racks and I only need 1 of these for the earring holder so now I have a set of cookie cooling racks.  I removed the stackable fixtures (used a hammer and a flathead screwdriver).  (You might consider saving those, if I needed the extra space I could have reattached at the bottom for more hanging space.)  Once you remove both fixtures you will have just the grid. 


Place the grid against the wall with the wires popped out. If you place it the other way then the wires will be against the wall and you won't be able to hang anything.  I hung the grid using 6 nails (3/4") across the top and another set across the bottom. 


Then I started hanging my earrings.  Simple and quick project! 


Tuesday, August 7, 2012

crockpot chicken taco

Jennifer made these great tacos when I visited her and Matt a few weeks ago for birthday weekend.  I've been wanting to try these for a while and tonight was my chance.  Thanks for the recipe JRRJ!

Ingredients

  • 4 boneless, skinless chicken breasts
  • 1 jar of salsa (16 ounces)
  • 1 envelope of taco seasoning (3 tablespoons)

Place the chicken in the crockpot.  Add the taco seasoning, then the salsa.


Cover and set the crockpot to HIGH for 6 hours. 


Enjoying the amazing aroma as your chicken transforms.


When finished chicken will easily pull apart.


Assemble your tacos as desired for a quick and easy dinner!

Sunday, June 24, 2012

Country Casserole


On a mission to eat in more, I picked up Southern Living Almost Homemade magazine.  It is full of easy to make receipes that are sure to get rave reviews.  So I picked Ham-Hash Brown Casserole and modified it a bit.  I used chicken instead of ham, country style hash browns instead of grated hashbrowns, and added in more veggies.  Needless to say you can alter the ingredients to fit your taste and you can't mess it up! Oh and the result was delicious! 


Ingredients:
  • 1 (30 oz.) package of frozen hash browns thawed
  • 6 chickens breasts (cooked and shredded)
  • 1 can of mixed vegetables
  • 1 (10 3/4 oz.) can cream of potato soup
  • 1 (10 oz.) alfredo sauce
  • 1 zucchini (2 cups shredded)
  • 1 squash (1 cup shredded)
  • 1 package of spinach (cooked)
  • 2 cups (8 oz.) shredded sharp Cheddar cheese
  • 1 cup milk
  • 2 cups crushed round buttery crackers
  • 3 tbsp. melted butter
Preheat the over to 400 degrees.  Combine the hash browns, chicken, vegetables, soup, alfredo sauce, zucchini, squash, spinach, cheddar cheese, and milk. 


Spoon mixture into a lightly greased 13 x 9 inch baking dish. Combine crushed crackers and butter.  Top casserole with cracker mixture.


Bake at 400 degrees for 35 minutes or until bubbly and cracker mixture is brown.


Let stand 15 minutes then served.

Wednesday, May 9, 2012

perfect Paula Deen mini quiche

Tomorrow night I am hosting the FDC for a meeting.  Naturally that means I am providing food and drink.  I needed a few easy to make snacks.  I didn't want to buy something frozen and decided to find something yummy.  Paula Deen's mini quiche seemed like the perfect solution!

Ingredients: 
  • 12 tablespoons (1.5 sticks) of melted butter 
  • 50 crushed buttery crackers (Ritz)
  • 5 slices of bacon
  • 6 stalks of chopped green onions
  • 1 cup chopped mushrooms
  • 2 cups of milk
  • 1 teaspoon of salt
  • 1/2 teaspoon of pepper
  • 4 eggs
  • 2 cups of finely shredded sharp cheddar cheese
Makes 24 servings

Preheat the over to 300 degrees.  Grease 2 12-cup muffin tins.

In a bowl, combine the cracker crumbs and the melter butter.
 

Then divide the mixture evenly among the muffin cups.
 

Brown the bacon. Then remove from the pan and drain on paper towels.


Saute your vegetables. Crumble the bacon and add to your vegetable mixture.  Allow to cool for 5 minutes.  


Beat together the milk, salt, pepper, and eggs. 


 Add this to the bacon and vegetable mixture.

Spoon the mixture into the muffin tin evenly over the cracker crumbs, filling the cups 3/4 full.  Sprinkle the grated cheese on top. 


Bake for 15 minutes or until they are set in the middle. 
                                                  

Quiche will easily pop out when baked perfectly.


Monday, December 26, 2011

iMade an iPad cover

Work gave me an iPad for Christmas (get ready 2012), so I decided to make a cover. I went to the Crystal Amsinger Motes school of sewing and crafts, which basically means if you can think it then you can pretty much make it. With a little quick thinking this took about an hour to make and now I have my own unique cover.


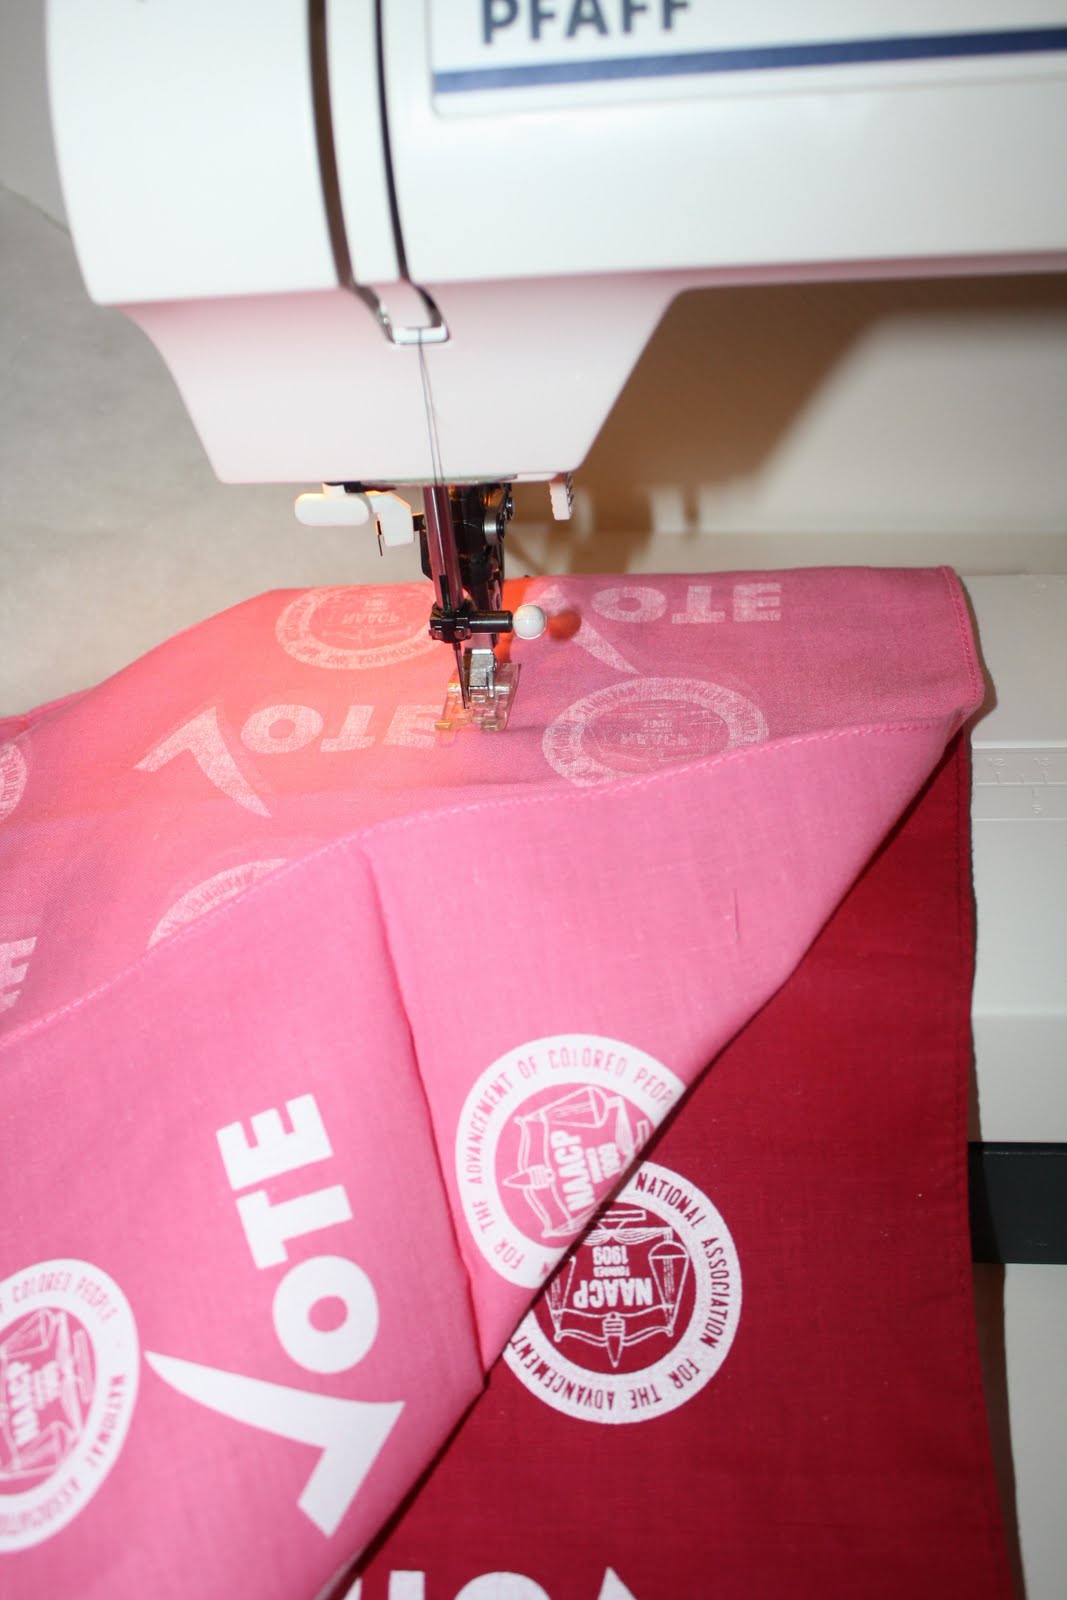
The fabric was found at work. EO offered up a bunch of old swag and I picked up about 10 bandanas in different colors. I had envisioned a tote bag but hadn't got around to making it yet. Since the iPad will be used largely for our civic engagement work, this design seemed appropriate.


It's a simple project that you can do too! The measurements can be adjusted to fit your tablet/iPad/etc.


Materials:


  • fabric (I used 2 squares of 20" by 20")

  • batting (2 rectangles of 12" by 9")

  • zipper (I used a 12" and cut it down to 10")

  • sewing machine

  • 2 pieces of cardboard (I cut mine to 11.5" by 8")

Directions:


  1. Iron your fabric.

  2. Put 1 piece of cardboard in between 1 folded over piece of batting. Stitch up the sides. This will provide structure and added cushion to the cover.

  3. Sew the two fabric pieces together inside out (design sides in). This will make a pillow case. Flip inside out to show designs.

  4. Fold the pillow case in half (with the fabric you want on the inside facing out). Sew the sides together. Now flip inside out. Stuff the two now batting covered pieces of cardboard into the openings at each end. This will make a booklike cover.

  5. You should have a book cover with stitched up sides but opened tops. This is where you add the zipper. Fold over the edges (in towards each other) on each side. Place 1 side of zipper in between. Hand stitch zipper in on both sides.

  6. All done! You can see the case is bigger than the iPad but had plenty of cushion for it.


I have plenty more bandanas (orange, purple, blue -- magenta and pink shown) if anybody wants one! :)